
TL;DR
Installing a PROGUIDE side guide roller requires basic hand tools, safety equipment, and a few measuring instruments. The most important hand tool is a 1-1/8″ wrench or socket, which fits the two ¾-10 UNC hex nuts included with every roller. You will also need a lockout/tagout kit, PPE, a tape measure for verifying the recommended 1-inch belt clearance gap, and possibly a power drill if you are mounting new brackets to the conveyor frame. The whole job is designed to be a straightforward bolt-on retrofit.
Why a Tool Checklist Matters Before You Start
Nobody wants to climb inside a conveyor structure, get halfway through a job, and realize they need a different socket size. The tools needed to install a PROGUIDE side guide roller are intentionally basic, but “basic” does not mean “obvious.” Getting the right wrench size, the correct drill bit for your frame steel, and proper safety gear sorted out before you begin will save time, prevent damage, and keep you compliant with workplace safety regulations.
This guide is organized by category. Each entry includes what the tool is, why it matters for this specific install, and any PROGUIDE-specific notes worth knowing. If you are still deciding whether the PROGUIDE roller is right for your application, the side guide roller buyer’s guide covers selection criteria in detail.
Section 1: Safety Tools and Equipment
Safety comes first, not because it sounds good in a manual, but because conveyors store enormous amounts of energy even when they appear to be off. An inclined belt loaded with material can roll backward after shutdown, and a tensioned belt can release force suddenly if clamps are not in place.
Lockout/Tagout (LOTO) Kit
A LOTO kit includes padlocks, tags, and hasps. The person performing the installation locks and tags the conveyor’s energy source so it cannot be started while work is in progress. Only that person can remove the lock. In the United States, this is mandated under OSHA standard 29 CFR 1910.147. MSHA has adopted similar rules for mining operations.
Why it matters for this install: Even a “simple” side guide roller installation puts your hands and body near pinch points on the conveyor frame. LOTO is non-negotiable.
Belt Clamps
Belt clamps apply even pressure across the belt width to prevent it from moving or slipping during work. Without them, many maintenance workers improvise with pry bars and lumber, which risks belt damage.
Why it matters for this install: If you are working on the return side (a common location for PROGUIDE rollers), the belt hangs under its own weight and can shift. Clamps keep it predictable.
Personal Protective Equipment (PPE)
At minimum, you need:
- Safety glasses or goggles to protect against dust, metal filings, and debris
- Work gloves (cut-resistant recommended) to protect against steel edges on brackets and frame members
- Steel-toed boots for foot protection, especially when handling steel rollers and brackets
- Hard hat if working in a mining, cement, or aggregate plant environment
- Hearing protection if other equipment is running nearby
Maintenance workers in mining and heavy industry face risks from sharp edges, falling objects, and dust exposure. Proper PPE is matched to the specific hazards present, which vary by site.
Section 2: Hand Tools
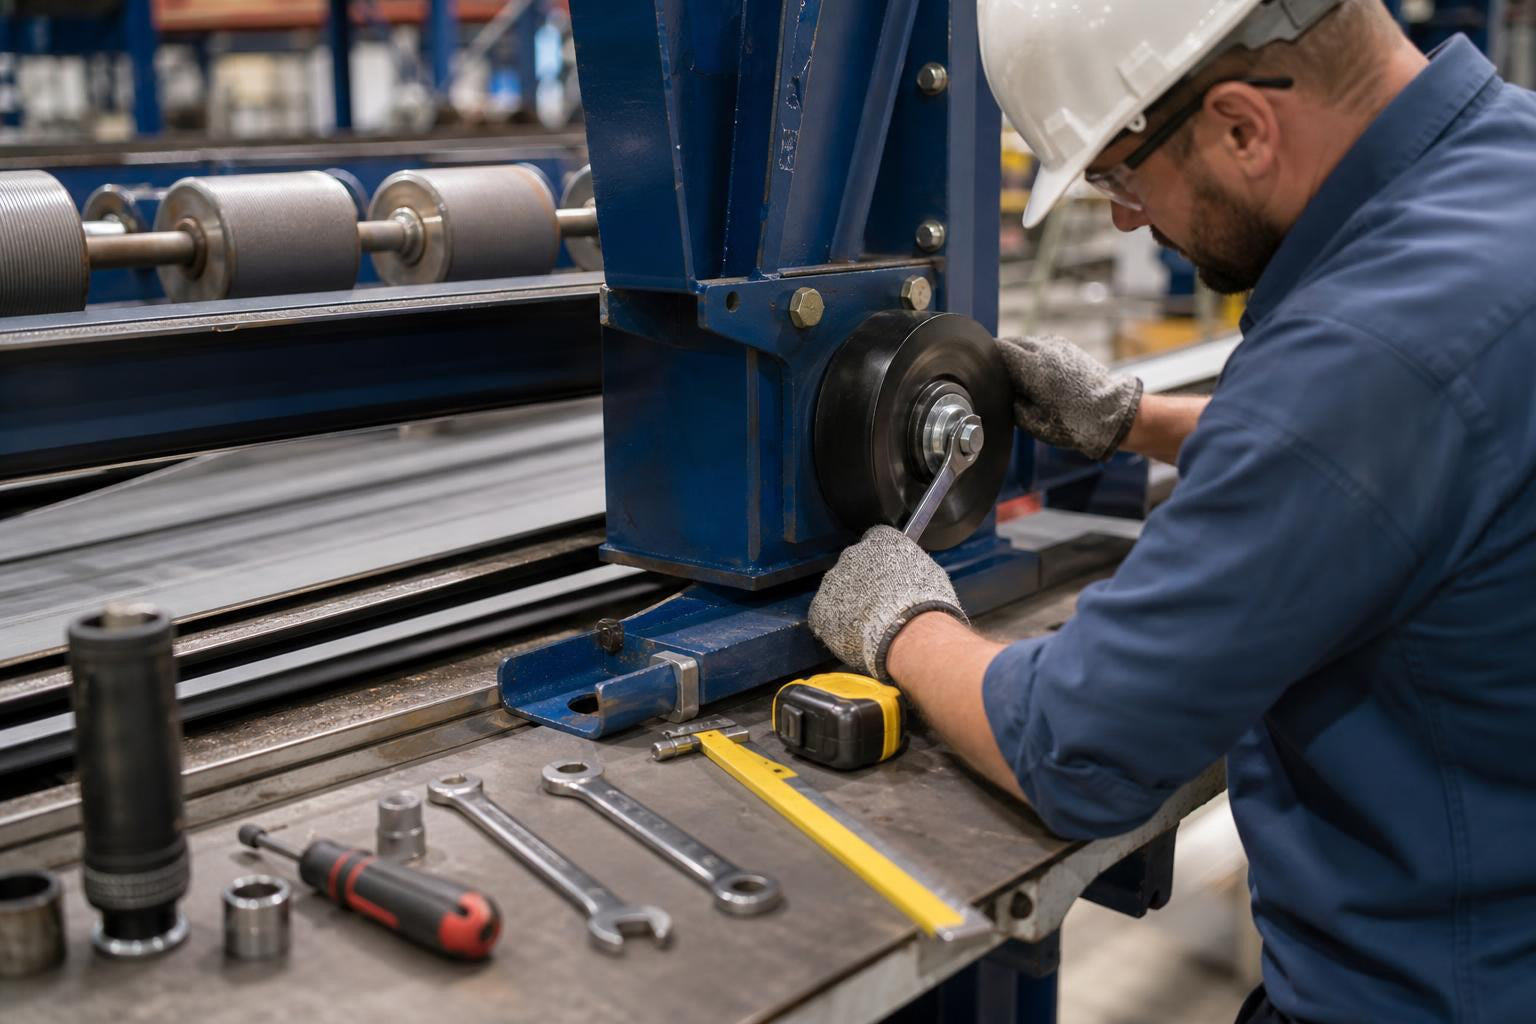
This is where the tools needed to install a PROGUIDE side guide roller get product-specific. The roller ships with a 0.750″ shaft (10 UNC 2A thread) and includes two nuts. That thread specification is ¾″-10 Unified National Coarse, and the standard hex nut for this thread has a 1-1/8″ across-flats dimension per ASME B18.2.2. Your primary wrench or socket needs to match.
Open-End Wrench (1-1/8″)
This is your primary tool for tightening the two hex nuts that secure the PROGUIDE side guide roller to its bracket. An open-end wrench works well in tight spaces near the conveyor frame where a socket might not fit.
Socket Wrench and Ratchet Set (1-1/8″ Socket)
Faster than an open-end wrench for nut tightening, and less likely to round off the hex flats. A ratchet with a 1-1/8″ socket is the preferred tool if you have clearance.
Combination Wrench Set
The bracket bolts and frame fasteners that attach the PROGUIDE guide roller bracket to your conveyor will vary in size depending on your specific frame design. A standard SAE or metric combination wrench set covers these variables.
Adjustable Wrench
A versatile backup. Not ideal as a primary tool because it can slip on hex flats, but useful for holding a bolt head while you tighten from the nut side.
Torque Wrench (Optional but Recommended)
Consistent torque prevents both under-tightening (which allows vibration loosening) and over-tightening (which can strip threads or crack brackets). If your site has torque specifications for structural bolting, use them.
Pry Bar
Useful when removing old or damaged rollers or brackets from the frame. Practitioners on forums note that a pry bar is one of the standard conveyor maintenance tools, but exercise caution: using a pry bar against a tensioned belt can cause damage. Flexco, an industry authority on belt maintenance tools, specifically cautions against improvising with pry bars near belts when proper belt lifters are available.
Section 3: Measuring and Alignment Tools
Getting the position right is just as important as getting the bolts tight. A guide roller installed too close to the belt will cause unnecessary edge wear. Too far away and it will not do its job. The PROGUIDE buyer’s guide recommends approximately a 1-inch gap between the roller and the belt when centered, without interference.
Tape Measure
The most-used measuring tool for this job. You will need it to measure mounting positions along the frame, spacing intervals between multiple rollers, and that critical 1-inch clearance gap. If you are unfamiliar with why belt clearance matters, the guide on how side guide rollers work to control belt mistracking explains the mechanics.
Straightedge
Checking that your bracket sits flat and aligned with the conveyor frame. A 24″ or 36″ straightedge placed along multiple bracket positions will reveal any misalignment before you commit to drilling.
Spirit Level or Torpedo Level
Verifies vertical orientation of the roller shaft. This is particularly important when mounting the roller above the belt, because shaft orientation determines whether you need dust covers (more on this in the closing section).
Chalk or Marker
For marking drill points and bracket positions on the frame before drilling. Industrial marking chalk is visible on dark steel and wipes off cleanly.
Section 4: Drilling and Fastening Tools (For New Bracket Installations)
If your conveyor frame already has mounting holes in the right positions, you can skip this section. But many installations are retrofits where no pre-drilled holes exist. PROGUIDE sells a matched guide roller bracket designed as the mounting companion for the roller, and attaching it to your frame may require new holes.
Power Drill or Cordless Drill
For drilling mounting holes in the conveyor frame steel. A corded drill provides consistent power for thicker frame members. A quality cordless drill (18V or higher) works fine for standard gauge steel.
Drill Bits (Metal-Rated / HSS)
High-speed steel bits matched to your frame’s steel gauge. Always drill a pilot hole first to prevent the bit from walking across the surface. Bit diameter depends on the bolt size used to attach the bracket to the frame, which varies by conveyor model.
Step Drill Bit
Useful for enlarging existing holes or creating clean, burr-free holes in sheet steel. If your frame uses slotted mounting points, a step bit makes clean work of it.
Thread Tap (Situational)
Only needed if you are creating threaded holes in the frame rather than using through-bolts with nuts. Most installations use through-bolts, so this is an edge case.
Section 5: Cleaning and Preparation Tools
Mounting a bracket to a rusty, greasy frame surface is asking for problems. The bolted connection needs clean metal-to-metal contact for a secure hold.
Wire Brush
Removes rust, scale, and loose debris from the mounting surface. A few minutes with a wire brush prevents the bracket from sitting on a contamination layer that could compress over time and loosen the fasteners.
Degreaser or Solvent
Removes oil and grease from the frame surface. Spray-on degreasers are fastest. Wipe clean with shop towels before bolting.
Rags or Shop Towels
General cleanup and surface drying. Keep a handful in your back pocket.
Section 6: Optional and Nice-to-Have Tools
These are not strictly required for every installation, but experienced maintenance teams keep them on hand because they make the job faster, safer, and longer-lasting.
Belt Lifter
Lifts a tensioned belt so you can access the space underneath. This is especially valuable for return-side installations where the belt hangs between idlers and blocks access to mounting points. Without one, workers often improvise with pry bars and lumber, which is both less safe and less effective.
Headlamp or Work Light
The inside of a conveyor structure, particularly on the return side, is dark. A headlamp keeps both hands free. Practitioners on industrial forums consistently mention that poor visibility is one of the biggest frustrations during conveyor maintenance work.
Anti-Seize Compound
Applied to bolt threads before assembly. Prevents galling (thread damage from metal-on-metal friction) and makes future disassembly dramatically easier. This matters in mining and aggregate environments where exposure to moisture and dust accelerates corrosion.
Grease Gun
The PROGUIDE roller is available with optional mechanical dust covers. These greasable dust covers help keep contaminants out of the bearing core, and they need periodic greasing after installation. A standard grease gun with a compatible cartridge handles this. One field review from Ontario Trap Rock noted that the greasable dust covers were a key factor in achieving over twice the service life of their previous OEM rollers.
Post-Installation Verification
Once the roller and bracket are mounted, run through this quick check before starting the conveyor:
- Spin test. Rotate the roller by hand. It should spin freely without grinding, binding, or wobbling.
- Clearance check. Verify the approximately 1-inch gap between the roller face and the belt edge when the belt is centered.
- Fastener check. Confirm all nuts and bolts are tight. Give each one a final check with your wrench.
- Dust cover orientation. If the roller is mounted with the shaft pointing upward (above the belt), install dust covers. Gravity can pull contaminants down into the bearing core in this orientation. Shaft-down mounts have less risk, making dust covers optional.
- Low-speed run. Start the conveyor at low speed and observe the belt’s interaction with the roller. Watch for signs of a misaligned conveyor belt such as the belt riding consistently to one side.
- Full-speed check. Run at normal operating speed and confirm the roller spins without obstruction and the belt tracks properly.
For ongoing reference on what can go wrong with conveyor tracking, the guide to common conveyor belt problems and solutions covers the most frequent issues maintenance teams encounter.
Quick-Reference Tool Checklist
| Category | Tools |
|---|---|
| Safety | LOTO kit, belt clamps, safety glasses, gloves, steel-toed boots, hard hat |
| Hand tools | 1-1/8″ open-end wrench, 1-1/8″ socket and ratchet, combination wrench set, adjustable wrench, torque wrench, pry bar |
| Measuring | Tape measure, straightedge, spirit level, chalk or marker |
| Drilling (if needed) | Power drill, HSS drill bits, step drill bit, thread tap |
| Cleaning | Wire brush, degreaser, shop towels |
| Optional | Belt lifter, headlamp, anti-seize compound, grease gun |
Frequently Asked Questions
What wrench size do I need for the PROGUIDE side guide roller nuts?
A 1-1/8″ wrench or socket. The PROGUIDE roller uses a ¾″-10 UNC thread and includes two hex nuts, which have a standard 1-1/8″ across-flats dimension.
Do I need a drill to install a PROGUIDE side guide roller?
Only if your conveyor frame does not already have mounting holes in the correct positions. Many installations are retrofits that require drilling new holes for the bracket. If your frame has existing holes that match the bracket’s bolt pattern, no drilling is needed.
Is lockout/tagout really necessary for a guide roller installation?
Yes. OSHA mandates lockout/tagout under 29 CFR 1910.147 for any maintenance work on powered equipment. MSHA has equivalent requirements for mining operations. Conveyor systems can store significant potential energy even when powered off, especially inclined belts loaded with material.
What is the recommended clearance between the PROGUIDE roller and the belt?
Approximately 1 inch when the belt is centered and running without interference. This gap allows the belt to contact the roller during minor mistracking events without creating constant friction during normal operation.
When do I need dust covers on the PROGUIDE roller?
When the roller is mounted with the steel shaft pointing upward (above the belt). In this orientation, gravity can pull dust, fines, and moisture down into the bearing area. When the shaft points downward, the risk of contamination ingress is lower and dust covers are optional.
Can I install the roller without the PROGUIDE bracket?
The roller can technically mount to any bracket with the correct shaft bore, but PROGUIDE’s matched guide roller bracket is purpose-built for the roller and simplifies procurement. Using a non-matched bracket risks fit issues and may void warranty coverage.
How long does it take to install a PROGUIDE side guide roller?
With tools gathered and the conveyor locked out, a single roller and bracket installation typically takes 30 to 60 minutes. The time increases if you need to drill new frame holes or remove an old roller first.
Where can I get help if I have questions during installation?
Contact PROGUIDE support at support@proguideroller.com or call +1 (647) 559-4464 during business hours. The team can help with bracket sizing, mounting orientation, and dust cover selection.