TL;DR
A drifting conveyor belt usually traces back to a structural, component, or loading problem, not the belt itself. To adjust a conveyor belt to run straight, diagnose the root cause first, then follow the standard sequence: adjust the return run before the carry run, empty before loaded, and wait at least three full belt revolutions between each change. Side guide rollers protect belt edges after tracking is corrected but are not a substitute for proper alignment.
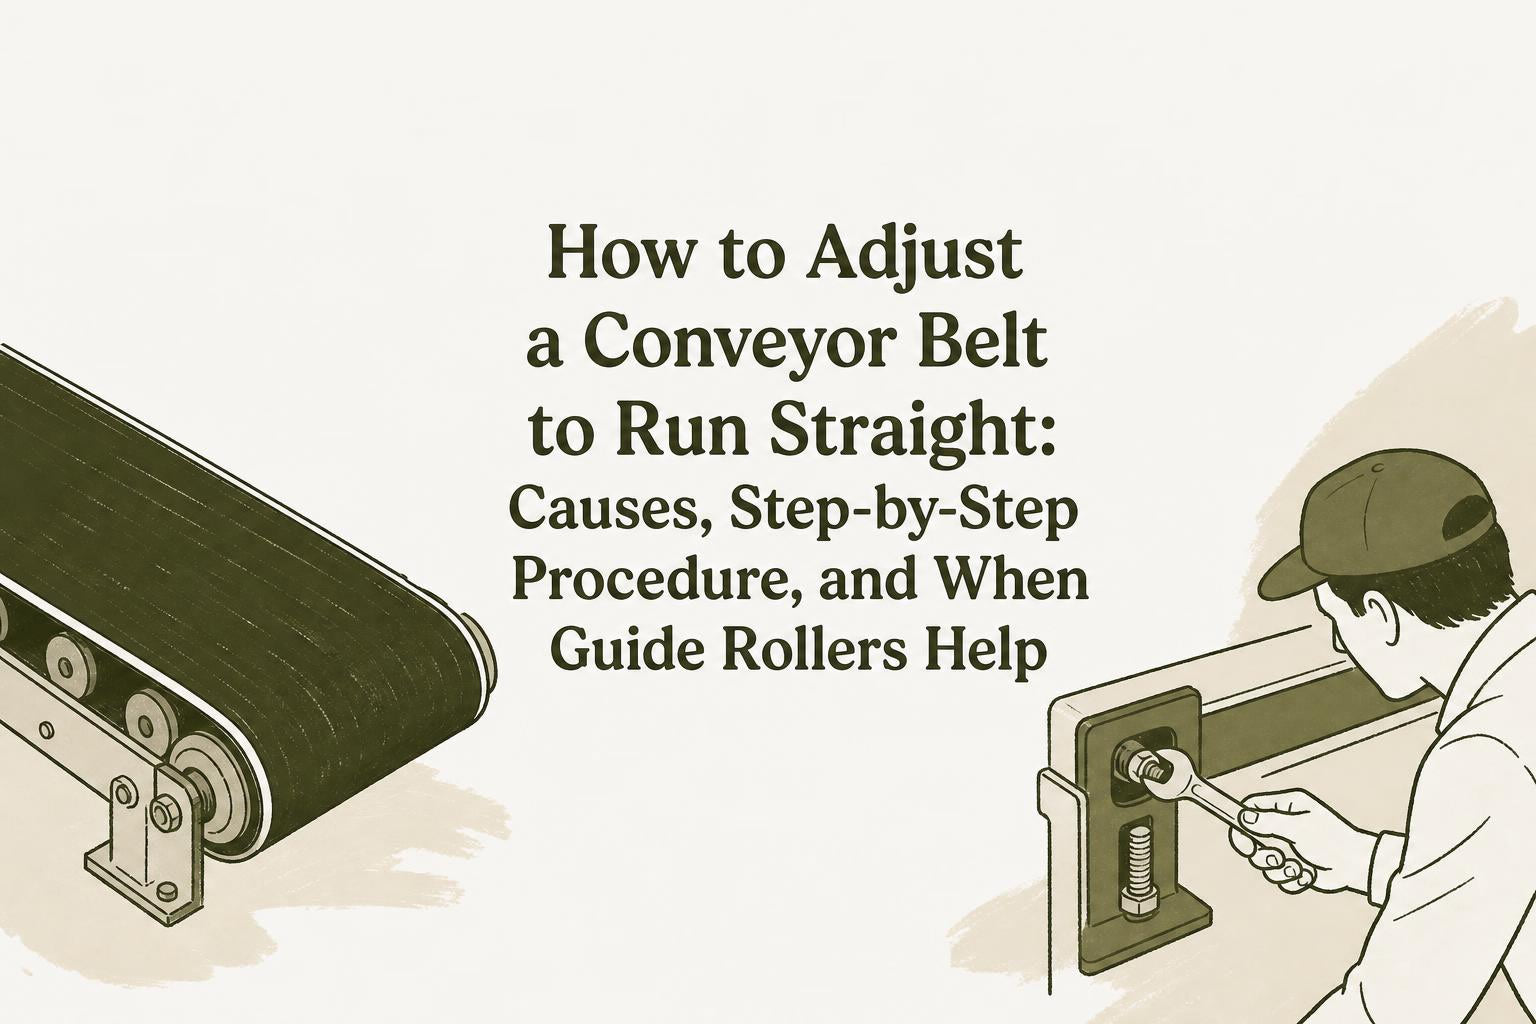
This guide is for maintenance technicians, plant operators, and site managers working in mining, aggregate, cement, or bulk handling who need to get a wandering belt back on center. By the end, you’ll understand the physics behind belt tracking, know the industry-standard adjustment procedure, recognize common mistakes that make things worse, and understand exactly where side guide rollers fit into the picture.
If your belt is already showing signs of misalignment, this page will walk you through every step to fix it.
What Is Belt Tracking, and Why Does It Matter?
Belt tracking is the process of adjusting idlers, pulleys, and loading conditions so the belt follows its intended path without straying at any point along the conveyor. When it works, you don’t think about it. When it fails, everything goes wrong fast.
Mistracking is the opposite: the belt drifts to one side, contacts the frame, damages its edges, spills material, and creates safety hazards. Belt tracking problems cause an estimated 70% of conveyor-related downtime, and mistracking accounts for approximately 30% of belt fires according to MSHA data. The U.S. Bureau of Labor Statistics reports roughly 9,000 workers are injured in conveyor belt accidents every year, many involving mistracking-related incidents.
The industry-accepted tracking tolerance is ±25 mm. Beyond that, you’re risking edge damage, spillage, and structural contact.
The Fundamental Tracking Rule
Every adjustment procedure builds on one physics principle: the belt moves toward the side of the roller or pulley it contacts first. If one end of an idler is slightly ahead (in the direction of belt travel), the belt shifts toward that end.
On crowned pulleys, the belt climbs toward the high center. On flat pulleys, the belt walks toward the loose side (the side with less tension). This distinction confuses a lot of operators. Practitioners on forum threads describe it as one of the most common points of misunderstanding, and getting it backwards will send your adjustments in the wrong direction.
Common Causes of Belt Mistracking
Before you touch a single bolt, figure out why the belt is drifting. Jumping straight to idler adjustments without diagnosing the cause is the fastest way to make things worse. One PROK engineer put it bluntly: “When you replace a pulley or an idler frame and eyeball it, those slight errors stack up over time and lead to tracking issues.”
Here are the five categories of root causes.
Structural Causes
When the conveyor frame isn’t level or square, even perfectly aligned components can’t keep the belt running straight. A frame that’s twisted, sagging, or racked will introduce tracking errors that no amount of idler adjustment can permanently fix. End pulleys should be parallel within ±0.5 mm per meter of conveyor length for optimal tracking.
Component Causes
Seized rollers are a common culprit. When a roller seizes, the belt slides over it, creating friction, heat, and tension imbalance. The belt tracks toward the side of the seized roller. Material buildup on rollers or pulleys is even more prevalent. Buildup creates a crown or raised portion on the pulley surface, pushing the belt off to one side. For a broader look at these issues, see common conveyor belt problems.
Belt Causes
Belts can be slit incorrectly during manufacturing, putting an arc or curve into the material. If the belt wasn’t aligned correctly during splicing (whether laced or made endless), that too creates a permanent tracking error. Experienced technicians on forums recommend laying a suspect belt flat and measuring both edges. Wide belts often stretch unevenly side to side, and when that happens, the belt curves when laid flat. On longer conveyors, this can make the belt unusable.
Loading Causes
Off-center feeding or uneven material distribution creates an imbalance that pulls the belt toward the heavier side. This is often the explanation when a belt tracks well empty but drifts under load.
Tension Causes
When one side of the belt is tighter than the other, the belt pulls toward the tight side (on flat pulleys) or behaves unpredictably on crowned pulleys. This can come from improper take-up adjustment, a malfunctioning tensioning device, or gradual uneven stretching over time.
Step-by-Step Procedure to Adjust a Conveyor Belt to Run Straight
This is the core procedure. It reflects industry consensus from equipment manufacturers, engineering references, and experienced field technicians.
Step 1: Safety First
Always apply Lockout/Tagout (LOTO) procedures before any hands-on inspection or adjustment of conveyor components. The only exception is controlled observation of a moving belt for diagnostic purposes, performed by trained personnel from a safe distance. No shortcuts here. With 9,000 conveyor-related injuries per year, this step isn’t optional.
Step 2: Inspect Everything
Before adjusting anything, walk the full length of the conveyor and check:
- Belt edges for fraying, cuts, or uneven wear
- Splices for alignment and integrity
- Pulleys and rollers for material buildup, damage, or seized bearings
- Frame for level and squareness
- Lagging condition on drive and head pulleys
Cleanliness is essential to good belt tracking. Foreign matter on a roller effectively creates a new roll face or crown, and that adversely affects tracking in ways that mimic component misalignment.
Step 3: Follow the Correct Sequence
The standard adjustment sequence is: return run first, then carry run. Empty first, then loaded.
Start with the return (bottom) run, working from the tail pulley forward. Once the return side tracks properly, move to the top (carry) run, adjusting in the direction of belt travel. Begin all adjustments with the belt running empty. After the belt tracks well empty, load it fully and check alignment again.
Always adjust while the belt is running. You cannot track a stationary belt.
Step 4: Adjust the Tail Pulley Take-Ups
The tail pulley is the most common starting point. If the belt runs off one side of the tail pulley, this usually means the pulley isn’t square with the belt’s axis or the shaft isn’t level transversely.
To adjust, loosen the take-up bolts and shift the take-up on the side the belt is drifting toward. Tighten slightly and let the belt run several revolutions to observe the effect. Make small changes.
Step 5: Adjust (Knock) Idlers
To center the belt, “knock” the idler ahead (in the direction of belt travel) on the side the belt is running toward. Spread adjustments over several idlers along the conveyor rather than making a large correction at a single point.
The bicycle handlebar analogy is the easiest way to remember this. Stand behind the conveyor and look in the direction of belt travel. Treat the idler like bicycle handlebars. Steer the idler the same way you’d steer the handlebars to move the belt where you want it. Practitioners on Reddit and YouTube consistently call this the single most useful mental model for idler adjustment.
Step 6: Wait Between Adjustments
Let the belt run for at least three complete revolutions after each adjustment before deciding whether further changes are needed. On a long conveyor, this could take several minutes. Patience matters more than precision at this stage, because each change needs time to propagate through the full belt loop.
If you’ve overcorrected, go back to the same idler and reverse the adjustment. Do not start adjusting different idlers to compensate, as this creates a cascade of competing corrections that becomes impossible to untangle.
Step 7: Check Under Load
A belt that tracks perfectly when empty can drift badly under load. When loading causes mistracking, the root issue is usually off-center feeding or insufficient tension. The tensioning device may be delivering different tension on each side of the belt. Verify that the loading chute deposits material centrally, and check that the take-up is providing adequate, even tension.
Adjusting a conveyor belt to run straight under load sometimes requires repositioning guide rollers near the loading zone as a secondary containment measure.
Reversing Conveyors: Special Considerations
Reversing belts present a unique challenge because every adjustment you make for one direction of travel can work against you when the belt reverses. Standard training idlers that pivot based on belt contact are often ineffective on reversing systems because they correct for one direction only. This is one scenario where side guide rollers become especially valuable as edge-containment devices, since they work regardless of belt direction.
Flat Pulleys vs. Crowned Pulleys: Why It Matters
This distinction trips up experienced operators, and getting it wrong will send your adjustments backwards.
Crowned pulleys have a slightly raised center. The belt naturally climbs toward the crown (the high point). If the crown is off-center or worn unevenly, the belt tracks toward the high side.
Flat pulleys behave differently. On a flat pulley, the belt moves away from the tight side toward the loose (low-tension) side. So if you over-tension one side of a flat-pulley system thinking it will pull the belt back, you actually push it further off track.
One more factor: tracking effectiveness of any roll is roughly proportional to the length of the unsupported belt span approaching it, up to a maximum of about 10 feet. If there’s no free span (for example, the belt goes directly from one roller to the next with no gap), that roller has almost no tracking influence. This explains why some idler adjustments seem to do nothing.
Common Tracking Mistakes
Knowing how to adjust a conveyor belt to run straight is only half the battle. Avoiding these mistakes matters just as much.
Over-tightening the belt. Excess tension accelerates wear on bearings, pulleys, and the belt itself. It also reduces the tracking influence of crowned pulleys. Tension should be just enough to prevent slippage at the drive pulley.
Adjusting the drive pulley. The drive pulley’s position affects belt tension and power transmission. Changing it to fix tracking creates new problems. Adjust snub rollers and carrying/return idlers instead.
Too many people adjusting the same belt. When multiple crew members make independent adjustments without coordination, corrections cancel each other out or compound. Limit the number of personnel tracking a specific belt and keep a written log of every adjustment. Practitioners on industry forums emphasize this repeatedly: one person, one log, one belt.
Treating symptoms instead of causes. Adding training idlers or side guides to mask a structural problem (like a bent frame or bad splice) guarantees the problem returns. The consequences of a misaligned belt compound over time. One industry source noted: “We’ve seen six-year belts that had to be replaced after only two. That’s millions lost.”
Making gross adjustments. If the system isn’t stable and you can’t control the belt with small moves, something is broken. Large adjustments destabilize the entire belt path. Establish a disciplined procedure based on observations at fixed intervals and resist the urge to make dramatic changes.
When Side Guide Rollers Help (and When They Don’t)
This is where most guides go wrong, either ignoring side guide rollers entirely or treating them as a tracking solution. They’re neither. Here’s the honest picture.
What Side Guide Rollers Actually Do
Side guide rollers are edge-containment devices. They sit alongside the belt with a small gap (approximately 1 inch when the belt is centered) and prevent the belt from wandering into the frame or off the conveyor structure. They provide a controlled contact point rather than letting the belt grind against steel framework.
They are appropriate:
- Near transfer points and loading zones where dynamic forces cause temporary drift
- On the return side where the belt is unsupported and more prone to wander
- On reversing conveyors where direction-sensitive trainers are ineffective
- As emergency protection during startup or belt break-in
For a deeper explanation, see how side guide rollers work.
What Side Guide Rollers Don’t Do
Side guide rollers are not recommended for making belts run straight. They should not bear on the belt continuously. If they do, even free-rolling guides will wear off the belt edge and eventually cause ply separation. They are meant for temporary mistracking events, not as a continuous corrective force.
The distinction matters: fixing tracking is alignment work (idlers, pulleys, structure, tension). Containing drift is edge protection (side guide rollers). Both are necessary in demanding applications, but one doesn’t replace the other.
Material Matters in Harsh Environments
In mining, aggregate, and cement applications, plastic and polyurethane guide rollers wear out quickly under abrasive conditions. Steel guide rollers with optional heat treatment and mechanical dust covers last significantly longer in these environments. If you’re running a quarry or processing plant and replacing plastic guides frequently, the math usually favors switching to steel.
To compare roller types in more detail, see types of guide rollers.
Preventive Maintenance Checklist for Belt Tracking
After you’ve adjusted a conveyor belt to run straight, the goal is to keep it that way. Unplanned downtime costs manufacturers up to $50,000 per hour in some industries, and over 80% of companies experience unplanned downtime with conveyor issues as a primary contributor.
Daily:
- Visual check of belt position at head, tail, and three points along the carry and return runs
- Listen for scraping, squealing, or unusual vibration
- Check for material spillage (an early indicator of drift)
Weekly:
- Spin-check all visible idlers and return rollers (flag seized ones for replacement)
- Inspect belt edges for new wear patterns or fraying
- Verify that side guide rollers maintain proper clearance and spin freely
Monthly:
- Check frame level and squareness at support points
- Measure pulley alignment with a straightedge or laser alignment tool
- Review the adjustment log for recurring drift patterns (repeated drift in the same area usually means a structural or component root cause)
- Inspect belt splices for separation or misalignment
Quarterly:
- Full belt tension verification
- Lagging inspection on drive and head pulleys
- Clean all pulleys and rollers of accumulated material
If you’re putting together a tracking maintenance program from scratch, the side guide roller buyer’s guide covers selection criteria for the edge-protection side of the equation.
Choosing the Right Side Guide Roller
Once tracking adjustments are dialed in, selecting the right guide roller for ongoing edge protection depends on several factors.
Roller material. Steel outperforms plastic and polyurethane in abrasive environments by a wide margin. In less demanding applications (packaging, food processing), lighter materials may suffice.
Roller diameter and length. Must match the belt width, speed, and available mounting space. Standard compact rollers work for most return-side applications, while longer rollers provide more contact surface near high-risk areas like loading zones.
Shaft size and bracket style. The guide roller needs to match the mounting hardware on your conveyor. A matched bracket simplifies procurement and ensures proper fit.
Mounting location. Position guide rollers where the belt is most likely to wander: near loading points, transfer zones, return runs, and anywhere ground conditions shift the conveyor structure. For guidance on placement, see where to position side guide rollers.
Environment. Dust, moisture, and fine abrasive particles destroy bearings. Mechanical dust covers and contactless sealing designs help keep contaminants out of the bearing area, extending roller life in dirty environments.
Looking for a steel side guide roller built for mining and aggregate duty? Browse the PROGUIDE steel side guide roller or pick up a guide roller bracket for fast installation.
Frequently Asked Questions
Why does my conveyor belt run straight when empty but drift when loaded?
This almost always points to off-center loading or insufficient belt tension. The tensioning device may be applying uneven force across the belt width. Check that the feed chute deposits material centrally and verify that the take-up system provides adequate, balanced tension.
How long should I wait between tracking adjustments?
At least three full belt revolutions. On a long conveyor, that could be several minutes. Rushing between adjustments is the most common cause of over-correction, which creates new tracking problems rather than solving existing ones.
Can I adjust a conveyor belt to run straight while it’s stopped?
No. Belt tracking adjustments must be made while the belt is running. A stationary belt gives no useful feedback about how it will behave in motion. The fundamental tracking rule (belt moves toward first contact) only applies when the belt is moving across the roller surfaces.
Do side guide rollers fix belt mistracking?
No. Side guide rollers contain drift and protect the belt edge, but they don’t correct the root cause of mistracking. If a guide roller is bearing on the belt continuously, something else is wrong (misaligned idlers, bad splice, unlevel frame) and needs to be fixed. Guide rollers are a safety net, not a steering mechanism.
What’s the correct gap between a side guide roller and the belt edge?
Approximately 1 inch (25 mm) when the belt is centered and running normally. The roller should not contact the belt during normal operation. It should only engage during temporary drift events to prevent the belt from contacting the frame or falling off the structure.
How do I know if my belt is manufactured crooked?
Lay the belt out flat and measure the length of each edge. If the edges differ in length, the belt has a built-in curve from manufacturing or splicing. No amount of idler adjustment will permanently fix a crooked belt. Wide belts are especially prone to this issue because they don’t always stretch evenly side to side.
Should I adjust the drive pulley to fix tracking?
No. The drive pulley’s alignment affects belt tension and power transmission. Changing it to fix tracking introduces new problems. Use snub rollers, carrying idlers, and return idlers for tracking corrections. Adjust the tail pulley take-ups for tension-related drift.
Not sure which guide roller or bracket fits your conveyor? Contact the PROGUIDE team for help with sizing and selection.